Maya Plugin Submission
The plugin submission process for Maya primarily consists of four steps:
1. Download & Install;
2. Launch;
3. Submit;
4. Upload;
5. Rendering and download;
6. Uninstall the plugin.
In the following sections, we will provide a detailed description of each of these steps. Includes video tutorials and text description tutorials.
Video for Maya plugin submission
Step1: Download & Install
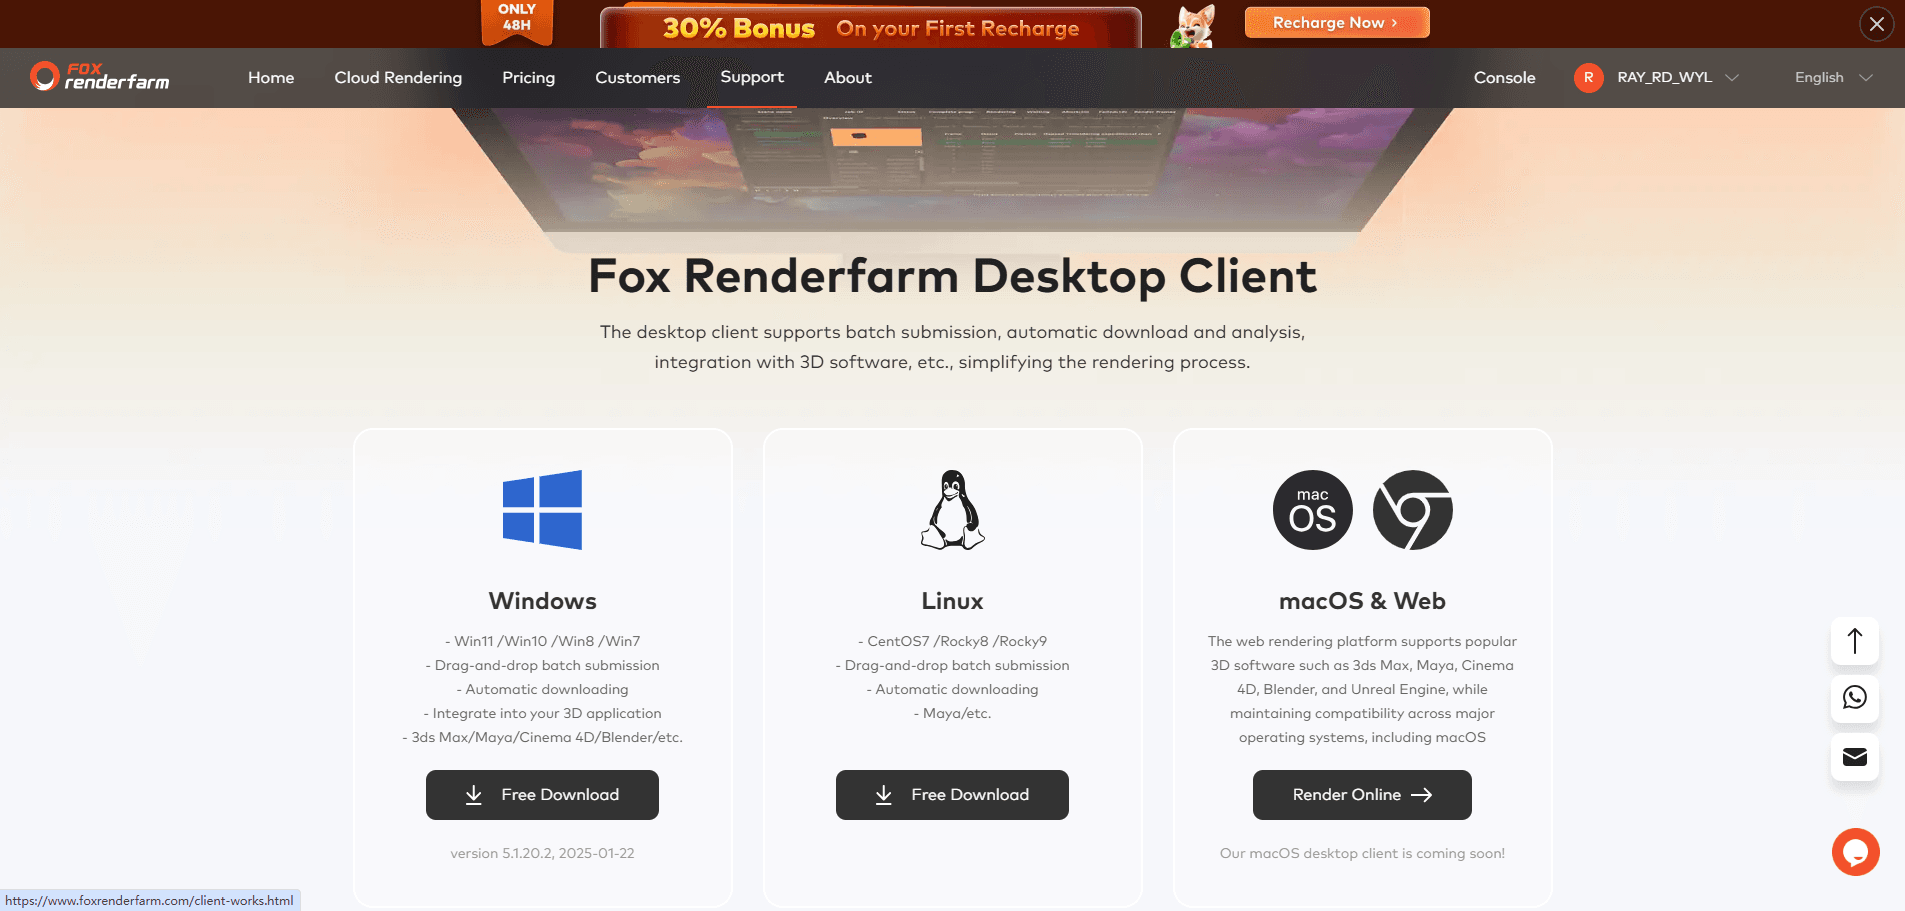
1.Visit the official website and download the cloud rendering client that matches your local operating system.
2. Install the Renderbus client; the plug-in will be automatically installed along with the installation process.
Step2: Launch
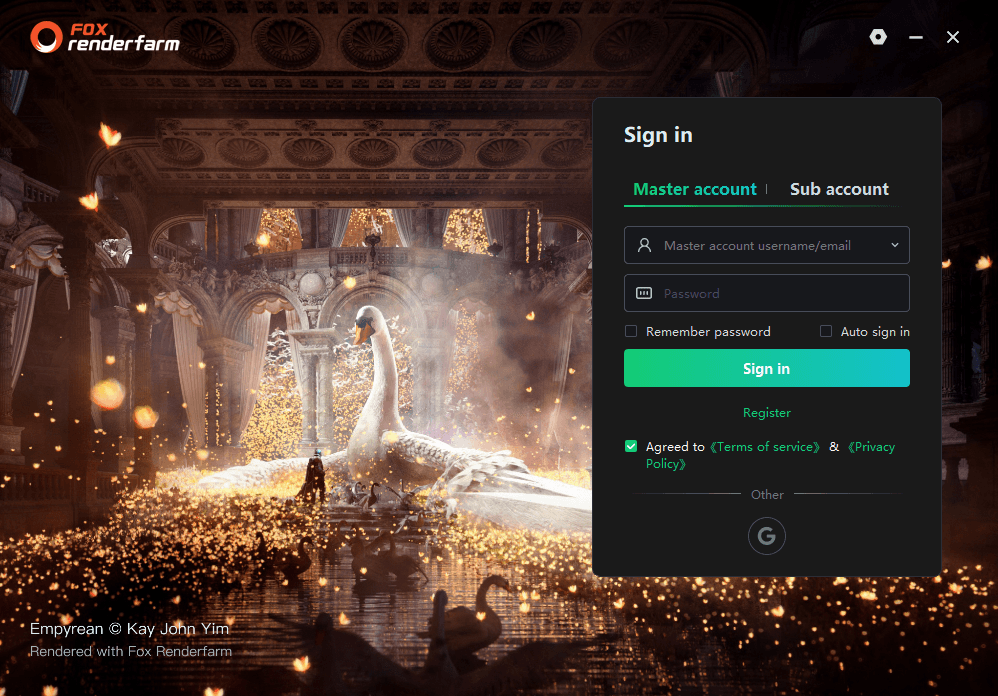
1.After starting the client, please log in first. For users without an account, click [Register] to start creating an account.
2.Open the Maya software and locate "Renderbus" in the menu bar. If "Renderbus" is not found in the menu bar, please go to the plug-in management page of the client to install the plug-in manually.

Step3: Submit
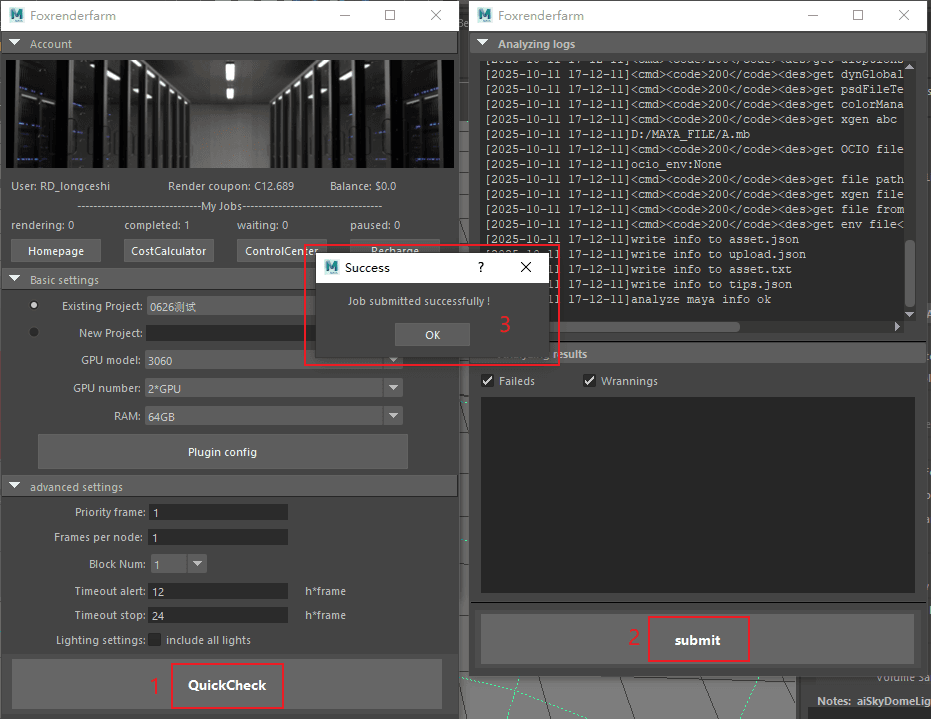
1.Basic settings

Project:You can create a new project or select an existing project name. Adding a project will facilitate subsequent project management and billing statistics;
Rendering Model:Select an appropriate rendering machine per your requirements. The superior the configuration, the higher the rendering efficiency, enabling rapid completion of rendering tasks.
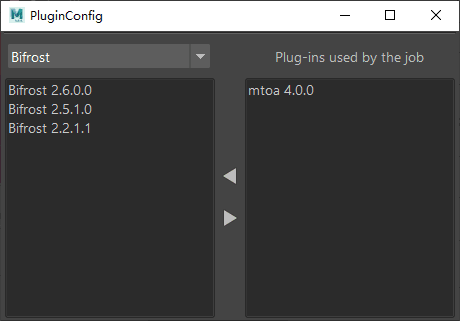
Plugin config: If the current scene needs to be used with other plug-ins, please select the corresponding plug-in here and specify its specific version.
2.Advanced settings
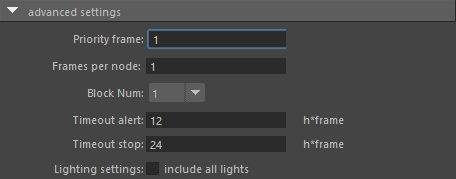
Priority frames: Custom test frames are allowed, with a maximum of 10 frames that can be entered.After the test frames are rendered, confirm that they meet your expectations. If so, click [Full Render] in the [Render List].
Frames per node: Number of frames rendered by one node(machine);
Block Num: Each frame will be divided into a specified number of blocks for rendering, and then the blocks will be synthesized.
Note:
- With each rendering engine’s specialty ,it maybe exsit composition errors on block rendering result, please use block render cautiously.
- Once enabled, the multi-frame per machine setting cannot be modified.
Timeout alert: An email alert will be sent if the rendering frame time exceeds the set limitation. The receiving email can be configured by yourself in Web->Message seetings->Job message settings;
Timeout stop: If the time - consuming of a rendering frame exceeds the set limitation, it will be automatically stopped and you will be informed via email. The receiving email can be configured by yourself in Web->Message seetings->Job message settings.
Lighting settings: Each render layer contains all lights by default.
3.QuickCheck
After Clicking “QuickCheck” it will start analysis, pop up analysis progress page (Note: corresponding prompt will appear in case of any error in the analysis results or warning thereof. You can click on a single prompt to view the solution, or enter the problem solving interface to view specific solutions.)
4.Submit
After confirming the scene inspection is error-free, click "Submit". Once the task is submitted successfully, you can return to the rendering client to check the rendering progress in real time.
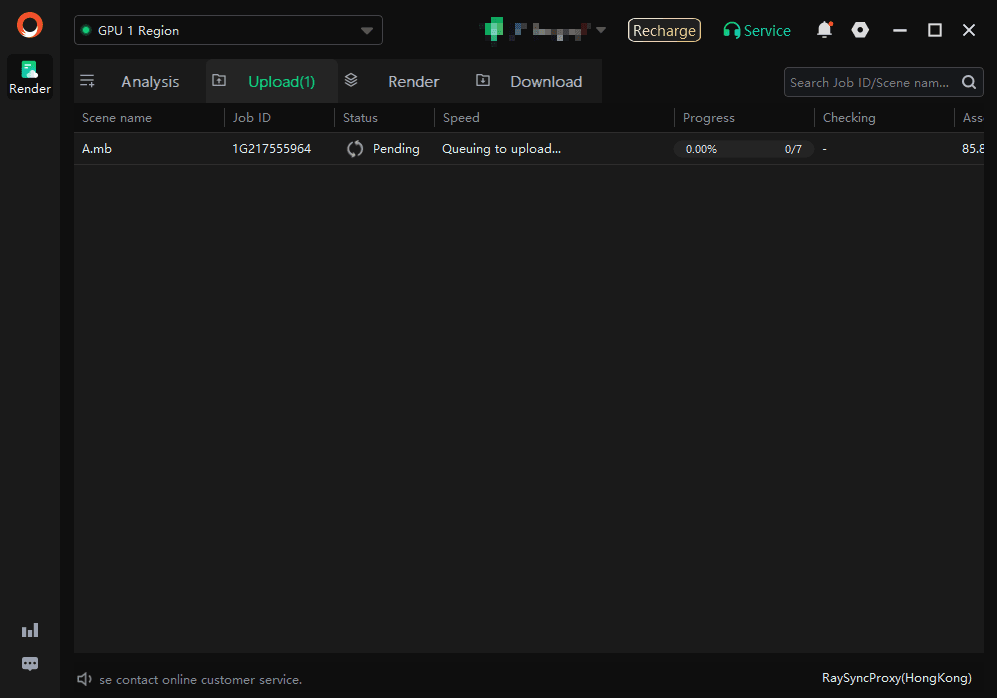
Step 4: Upload
After submitting the rendering job in Maya, return to the Fox client to view the file upload progress. After the upload is completed, it will be automatically rendered.
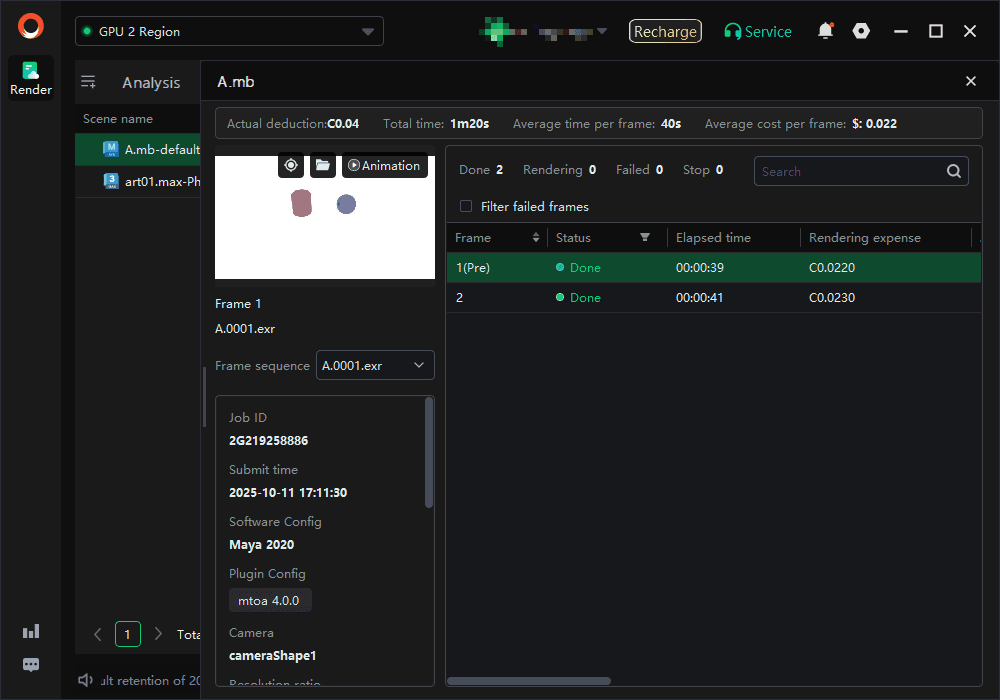
Step5: Rendering and download
1. During the rendering process, you can click on jobs to view rendering details;
2. After rendering is completed, the rendering file will be automatically downloaded to the local.
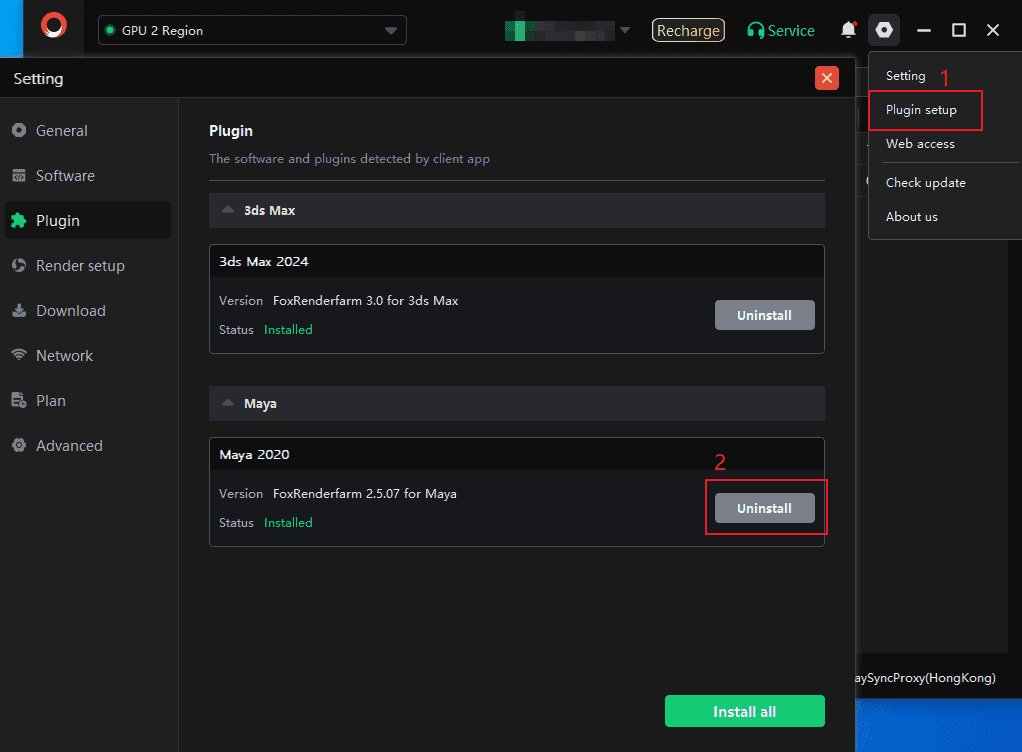
Step 6: Uninstall the plugin
Go to the animation client, click on the "Settings" -> "Plug setup" functions in sequence, select the plugin version to be uninstalled and click "Uninstall". The uninstallation will be completed once the operation is finished.