How To Rebuild Avatar With Arnold For Maya
In 2009, a sci-fi film Avatar swept the world. This film won a lot of honors, but as a CG enthusiast, the greater fun is still exploring the production process of this film.
In Avatar, many characters and scenes are made using Maya. As the leading cloud rendering services provider and render farm, Fox Renderfarm will introduce the Avatar as a case by Arnold and Maya to introduce the software.
Part 1. Collection of materials
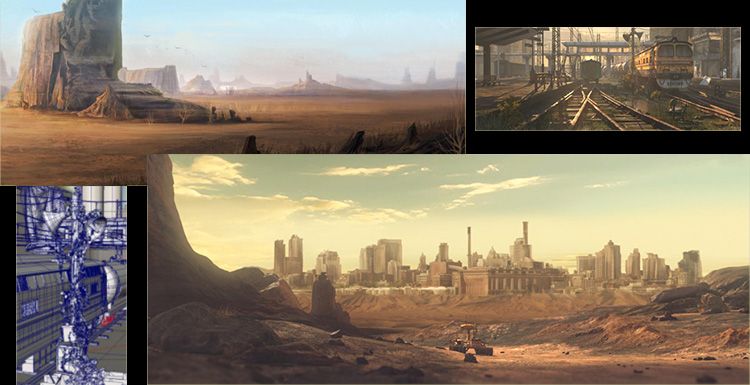
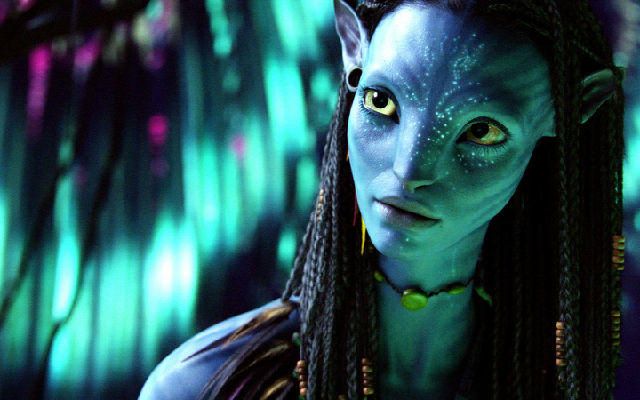
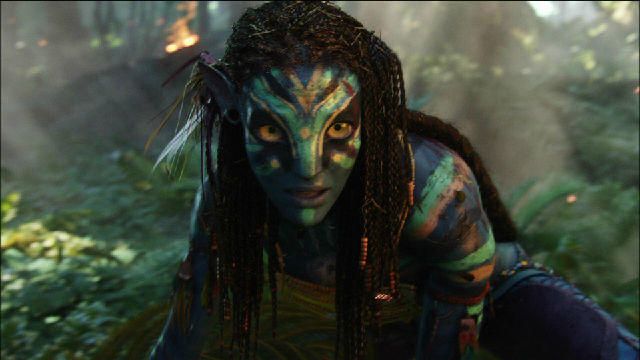
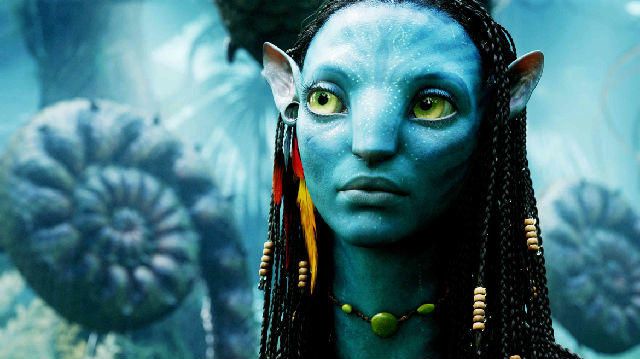
Material collection is an important step, and the more time you spend collecting material, the less late errors will be. When making the Avatar model, I used the web to collect a lot of real material and video reference. You can add some of your own understanding during the production process. You can also try different brush strokes when post-production in ZBrush, and finally unify the whole character. Here are some of the materials I collected.
Part 2. Maya basic model
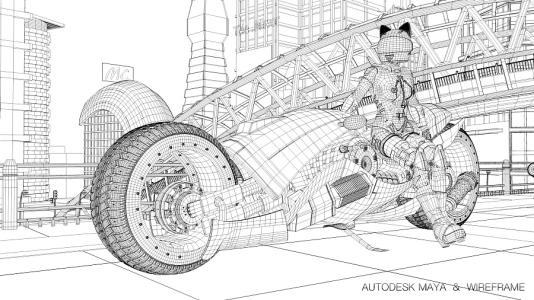
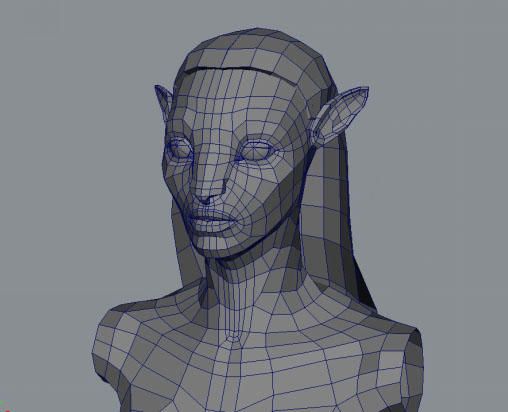
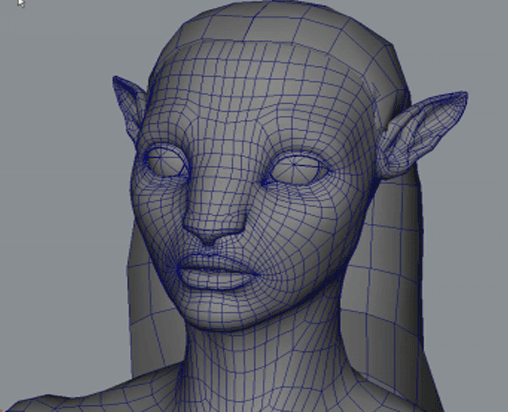
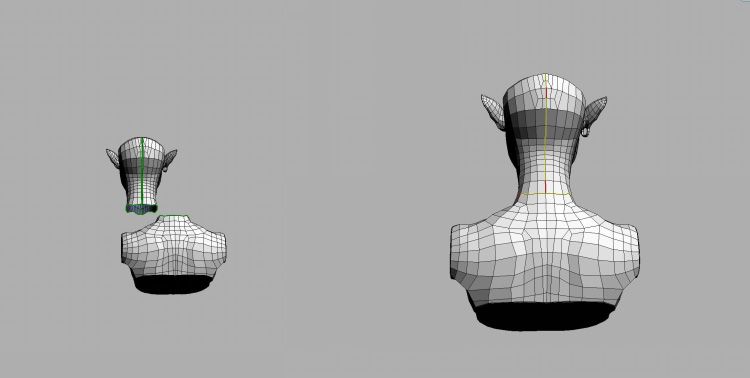
Use Maya's own box as the basic model, first adjust the general proportion, and then start from the large-sized model parts, so that you can grasp the overall feeling of the character in a relatively short time, and easily modify the scale. As far as possible, the wiring should be as clean as possible. It is not necessary to describe too much detail. In particular, pay attention to the structural turning of the head to facilitate engraving later.

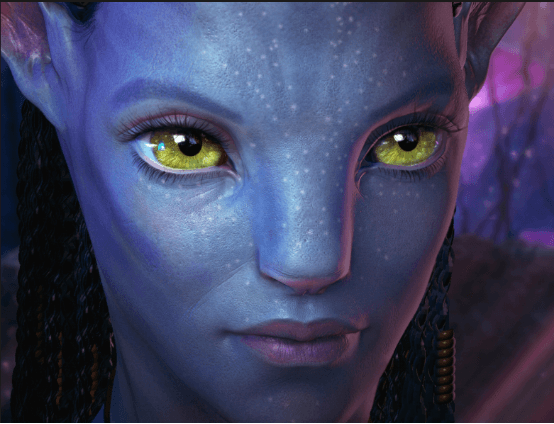
Step 1: This role, gives me the feeling is a combination of feline and human face, the upper part of the face is a lion, the lower part is a human. I decided to put more effort into her lower half of the face and tried to understand the upper half of the cat's face. After analyzing these things, we can grab some of her characteristics to start modeling.
I made a simple model, this time there are very few lines, it is very convenient for you to adjust the feeling. At this time, the proportion and position of the character's lower jaw and facial features were fixed.
Step 2: Add one line while adjusting and perform local detail processing.
Eye, eyebrow and cheekbones, here are the low mold and final wiring diagram.
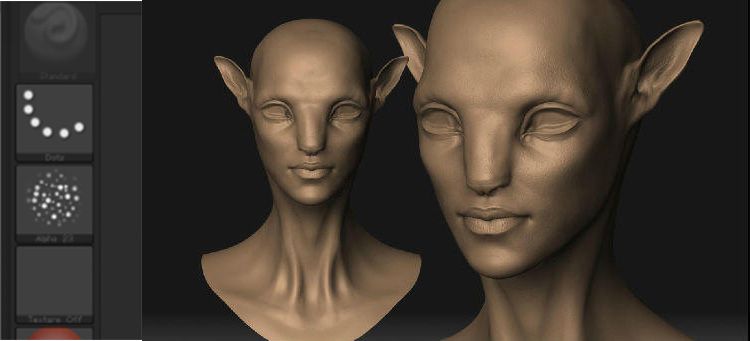
Part 3. Adding ZBrush Details
According to the previous reference to determine some of the details of the role structure, subdivision in ZBrush, improve the number of faces of the model to add some details to the model. For example, pores, texture of the lips, etc.
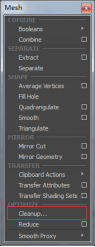
Step 1: First perform Maya's cleanup to check if there are more than four sides. Export the obj model without problems.

Step 2: Import ZBrush to add details. Use a few skin brushes. Detail breakdown and detail addition.
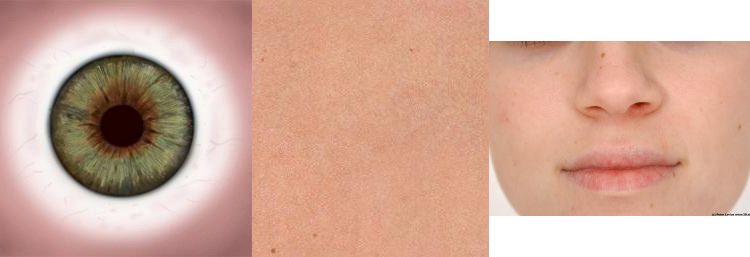
Part 4. Mapping the Texture
Because there is already a film and television as a reference, the texture is closer to the content of the film. Here are some of the material I collected.
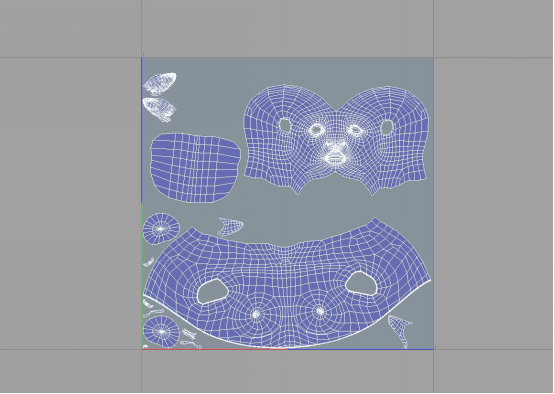
You need to make sure the uv is correct before drawing the texture. I am using the UVLayout plugin to split the model UV. Pay attention to the position of the tangent at the time of splitting, try to put it in the place where it can't be seen, so as to avoid the seam problem. The mapping of the texture here is made by combining Mari and ps. In order to quickly grasp the process of drawing textures using mudbox here.
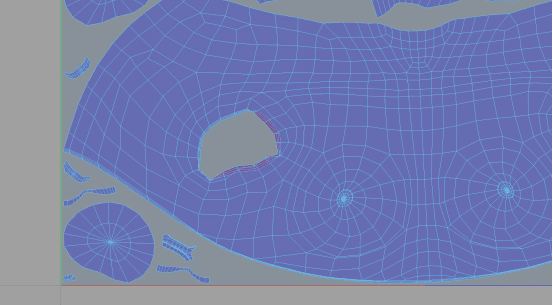
These are the uv splits using plugins. It's worth noting that sometimes splitting out is not ideal and needs to be re-edited in the Mayauv editor.
The overlapping parts in the red part of the figure can be adjusted in the uv editor. The final result is as follows.
After the UV editing is done, it is necessary to draw the texture and draw it here using the mudbox.
Firstly, subdivide the model and then export obj. The second is to open the mudbox and import the model. Select a brush.
The shader looks at your personal habits and can switch between viewing highlights and non-highlights. Select the brush and click New Layer on the model to select the map size and format as needed.
I am here to choose 4096*4096 size for clarity. And named as the background color, in order to put the background color on the model, to prevent the back when painting the map. The new layer adds the pattern, which can be adjusted in conjunction with the layer blending mode. To achieve the right results.
Generate textures and export them after making multiple adjustments. And add textures in ps. And the root layer is created to generate the corresponding 3s highlights and bumps.
Part 5. Rendering
Light setting: The first step, we basically use the most basic three-point lighting principle to first adjust the intensity of light to achieve the required intensity. Note that this is the arnold renderer that is utilized, so the default light is attenuated with light. The lighting test of the advanced model (the model without the map) pays attention to the contrast of the cool and warm of the light.
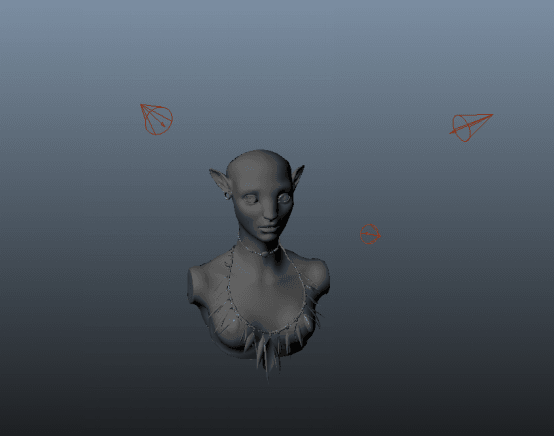
The three-point lighting is generally the primary light source auxiliary light and contour light, pay attention to the contrast between the main light source and the contour light. There is also an application with skydemo light to simulate the surrounding environment.
Setting of the shader ball: In order to better express its texture and skin characteristics, we will use the corresponding skin material.
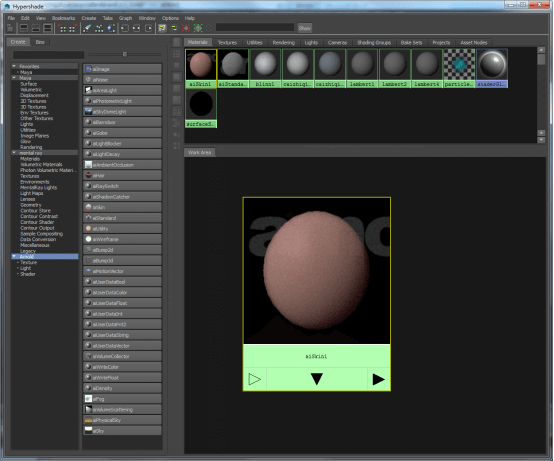
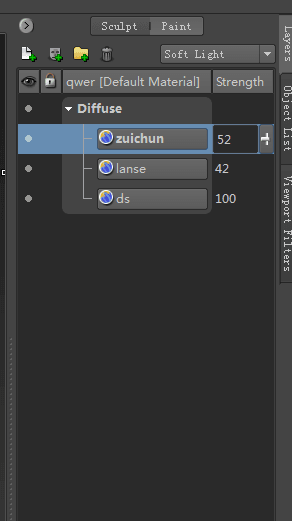
The first step: Since the texture has been drawn before, the respective skin layers whose inherent color is blue are also adjusted according to the inherent color. Connect all the textures to the corresponding properties of the shader and adjust the parameters.
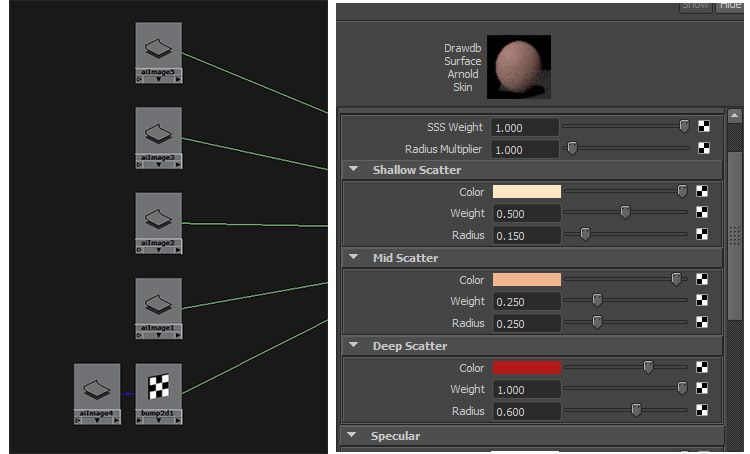
Here, five textures are connected to the skin's three-layer highlight and normal map. Then adjust and test the lights.
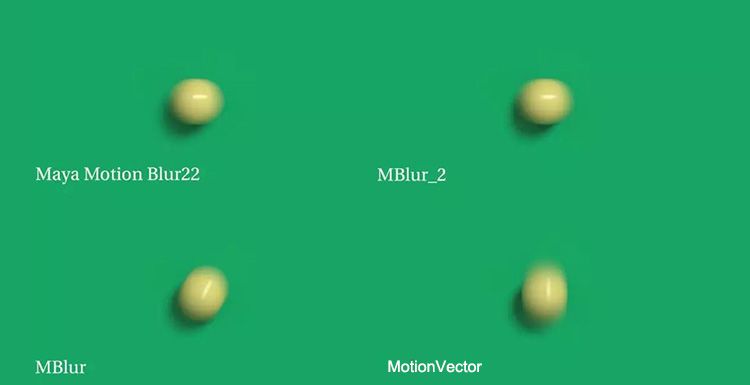
Render channel output: Render the corresponding channel, which is more convenient to adjust later.
They are id, normal, highlight, ao, sss, etc.
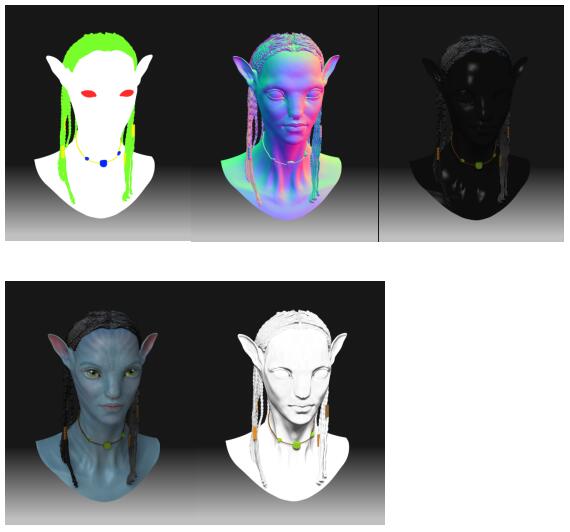
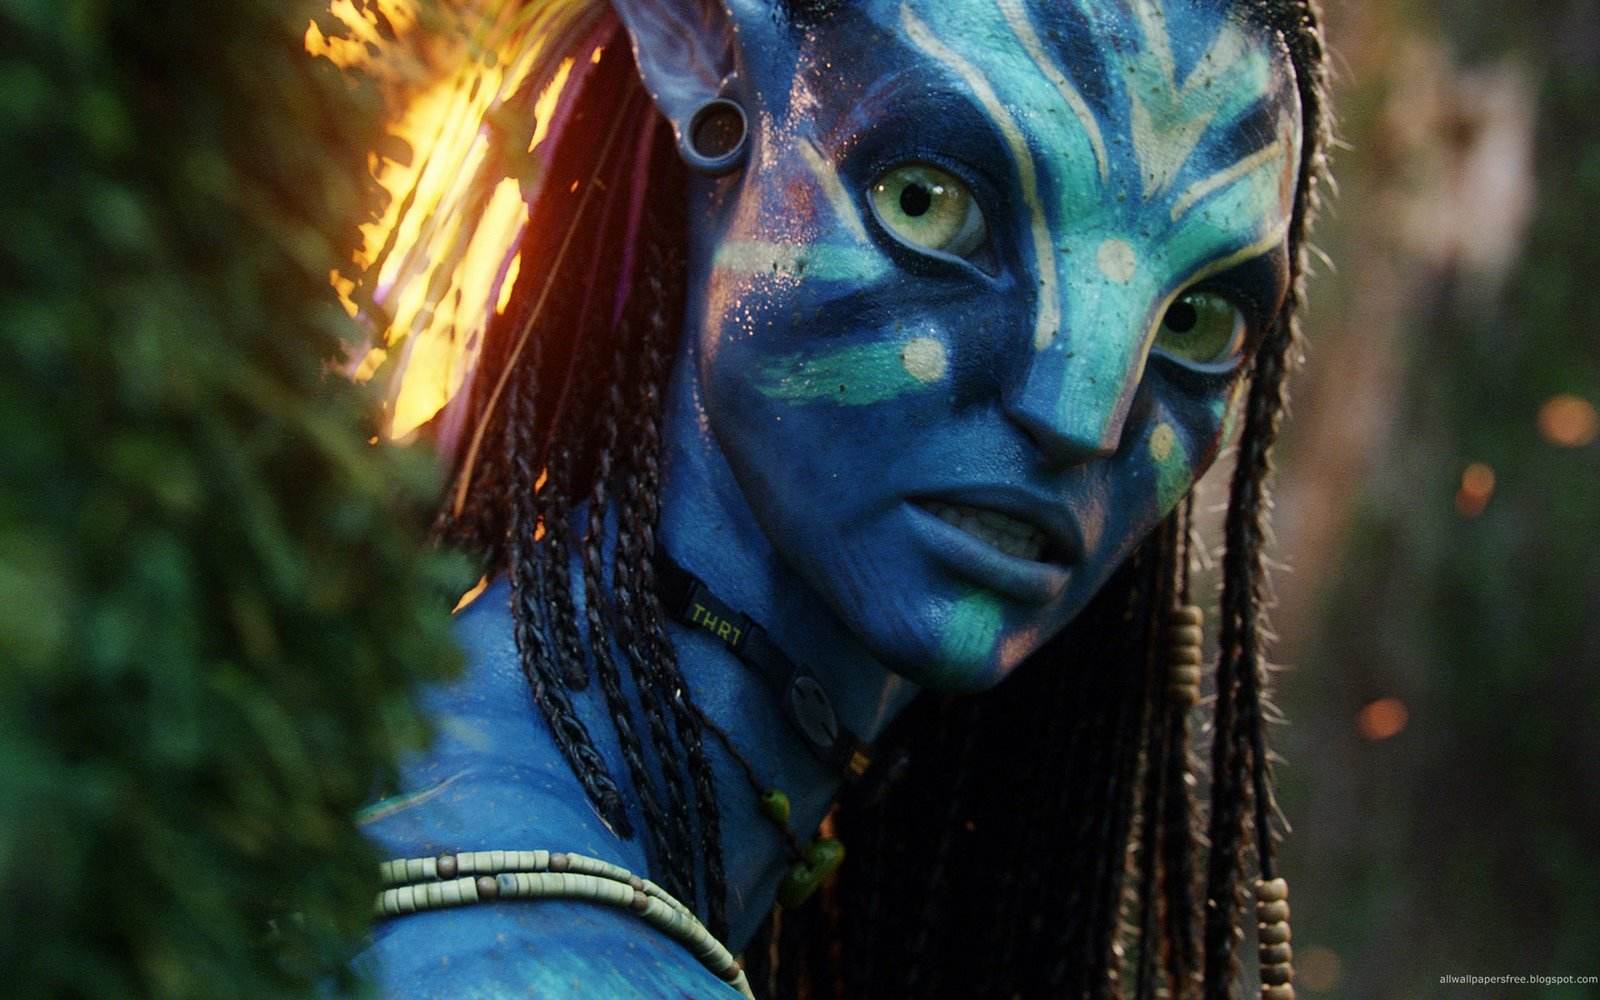
Channel synthesis: The rendered layer is synthesized in ps, the ao channel is synthesized by the method of the film stacking, and the highlight channel is synthesized by the screen method. The normal channel can be synthesized in nuke to re-adjust the light. It is possible to directly adjust the eyelashes and adjust the background lighting effects and color in the ps.
Adjust the desired effect with the final adjustment.
That's all there is to explain about the making of Avatar, we hope you've been inspired. If you are looking for a render farm, why not try the fast and TPN-accredited render farm, Fox Renderfarm, who offers a $25 trial.
Welcome to join us


Recommended reading
Top 9 Best And Free Blender Render Farms of 2025
2024-12-30
Revealing the Techniques Behind the Production of Jibaro "Love, Death & Robots", Which Took Two Years to Draw the Storyboard
2025-02-10
Top 10 Free And Best Cloud Rendering Services in 2025
2025-03-03
Top 8 After Effects Render Farm Recommended of 2025
2025-02-10
Top 5 Best and Free 3d Rendering Software 2025
2025-02-10
Shocked! The Secret Behind Using 3D to Make 2D Animation was Revealed!
2025-02-10
How to Render High-quality Images in Blender
2024-12-04
Easy Cel Shading Tutorial for Cartoon in Blender Within 2 Minutes
2025-02-10
Partners


Previous: The Best CPU Render Farm For CPU Rendering in 2023
Next: 2025년 최고의 무료 블렌더 렌더팜 탑9
Interested