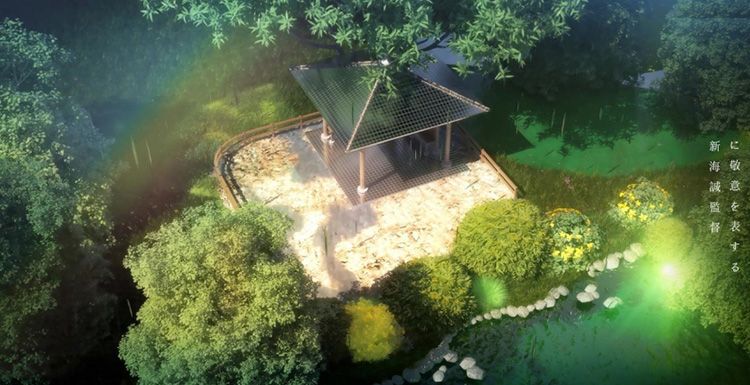
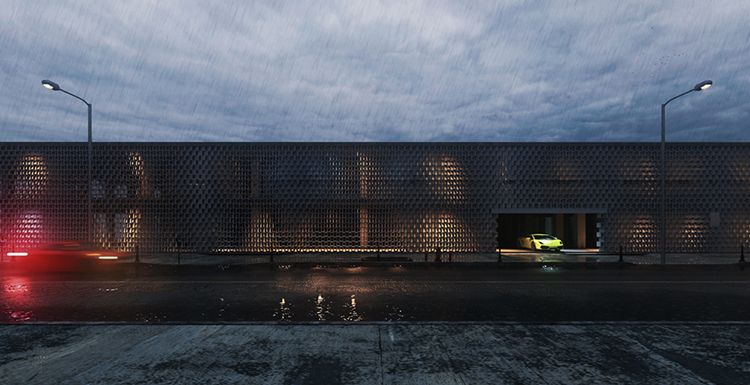
How To Make a Green Bamboo Leaf Forest Cabin With 3ds Max And V-Ray
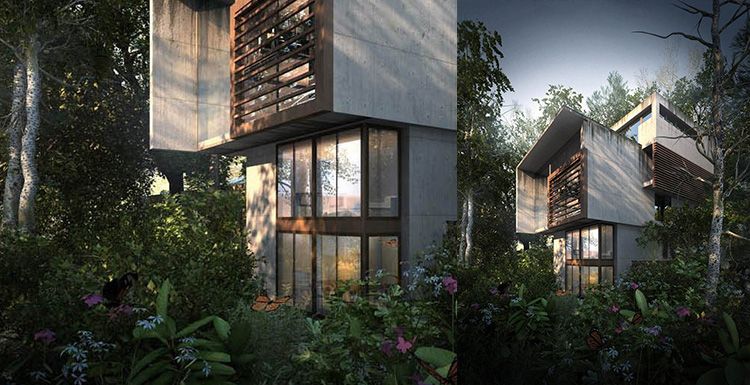
This article is organized from Fox Renderfarm, the world's leading render farm. It mainly teaches how to use existing models to make green bamboo leaf cabins. The main software used is 3ds Max, V-Ray, Photoshop, etc..

After opening the model, first check and organize the model. After the group is set up, the angle is selected. After repeated comparisons, the following angles are selected:
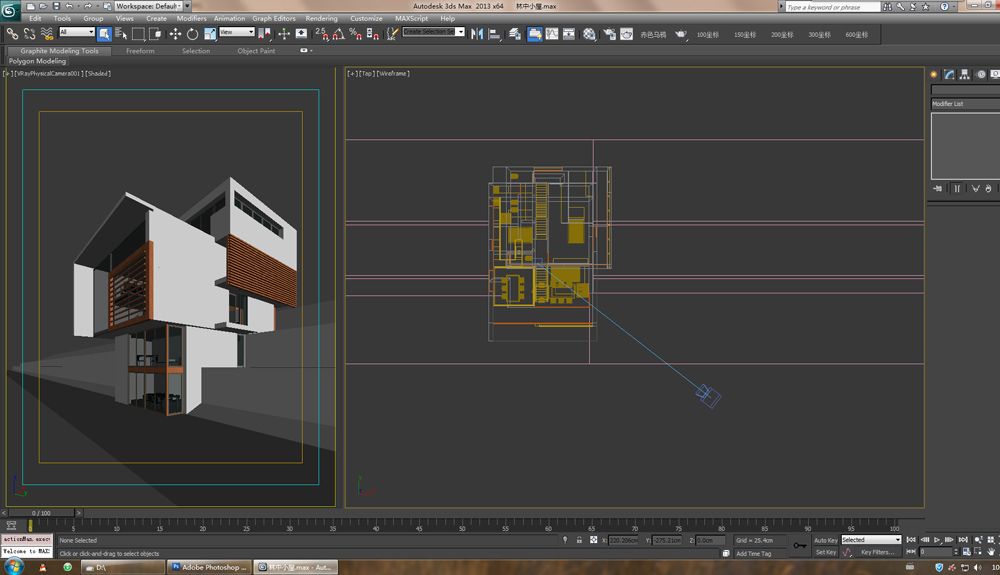
Next, start to paste the material, the scene is small, the material is relatively simple, the effect is as follows:
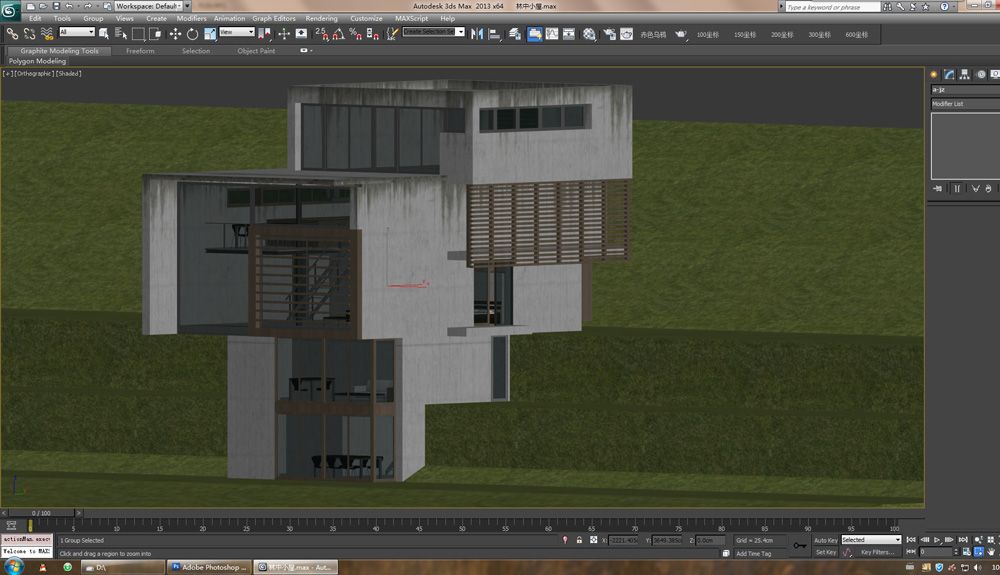
The main material of the model is composed of three materials: wall and glass and wood. The parameters are as follows:
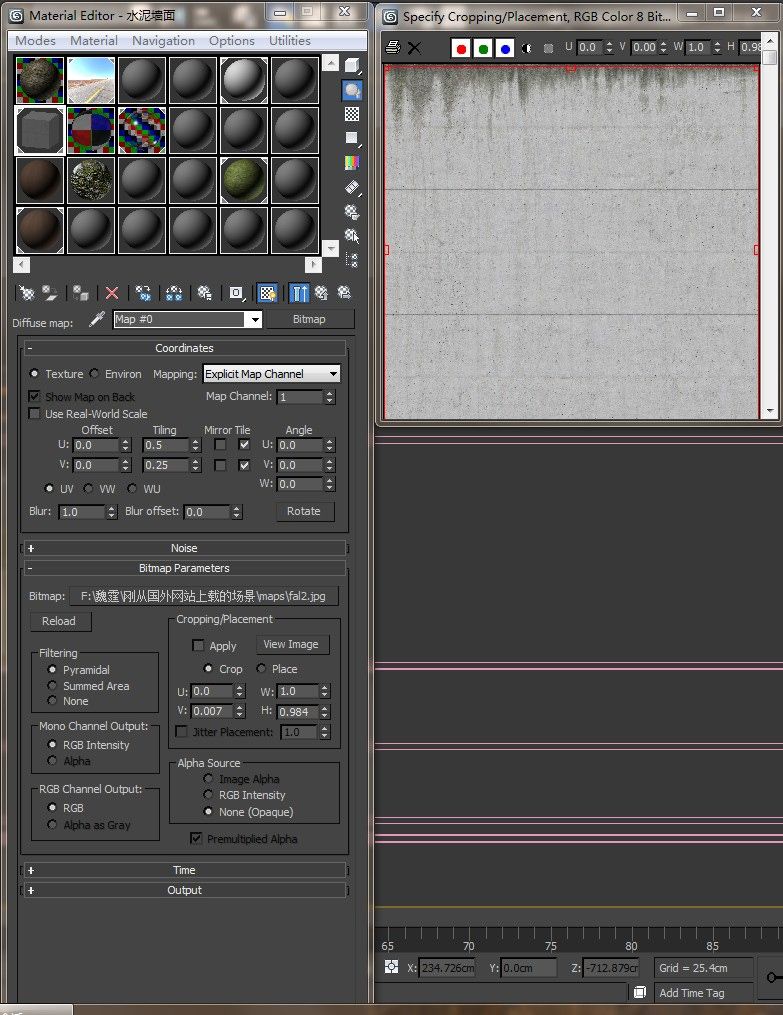
Wall material
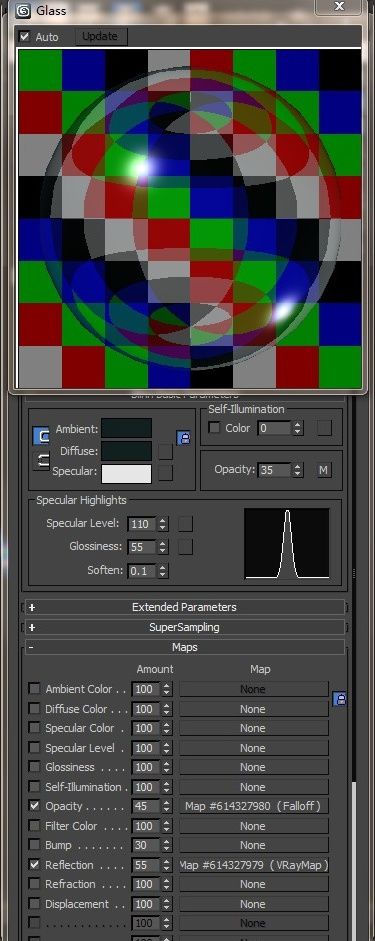
Glass material
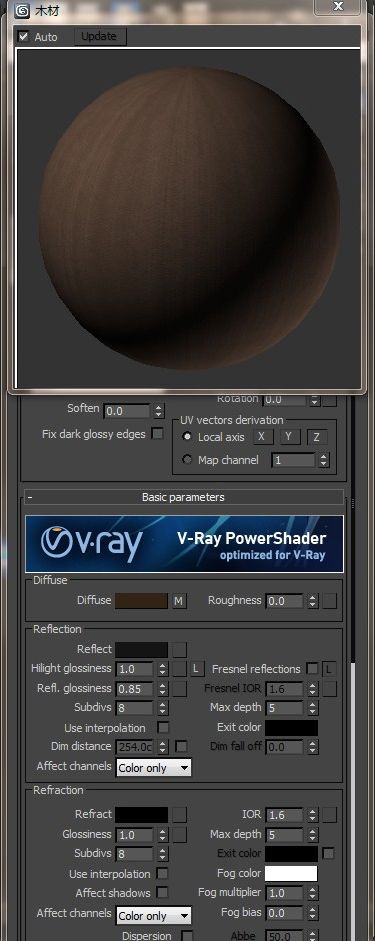
Wood material
Next, start the lighting layout. First, create a vraysun as the main light source in the scene. Environment and reflection add an HDRI texture and use it as the background to get the following effects:
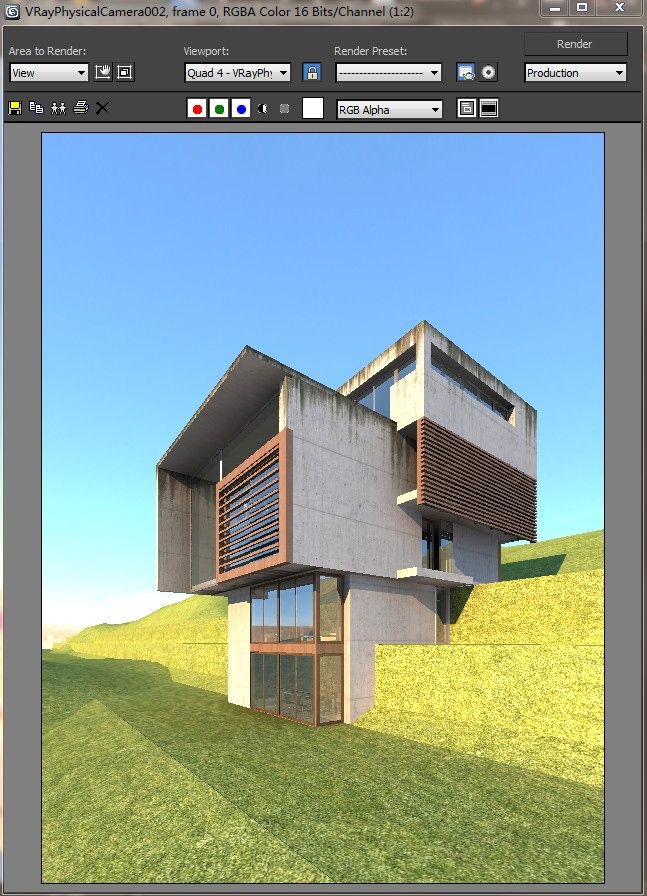
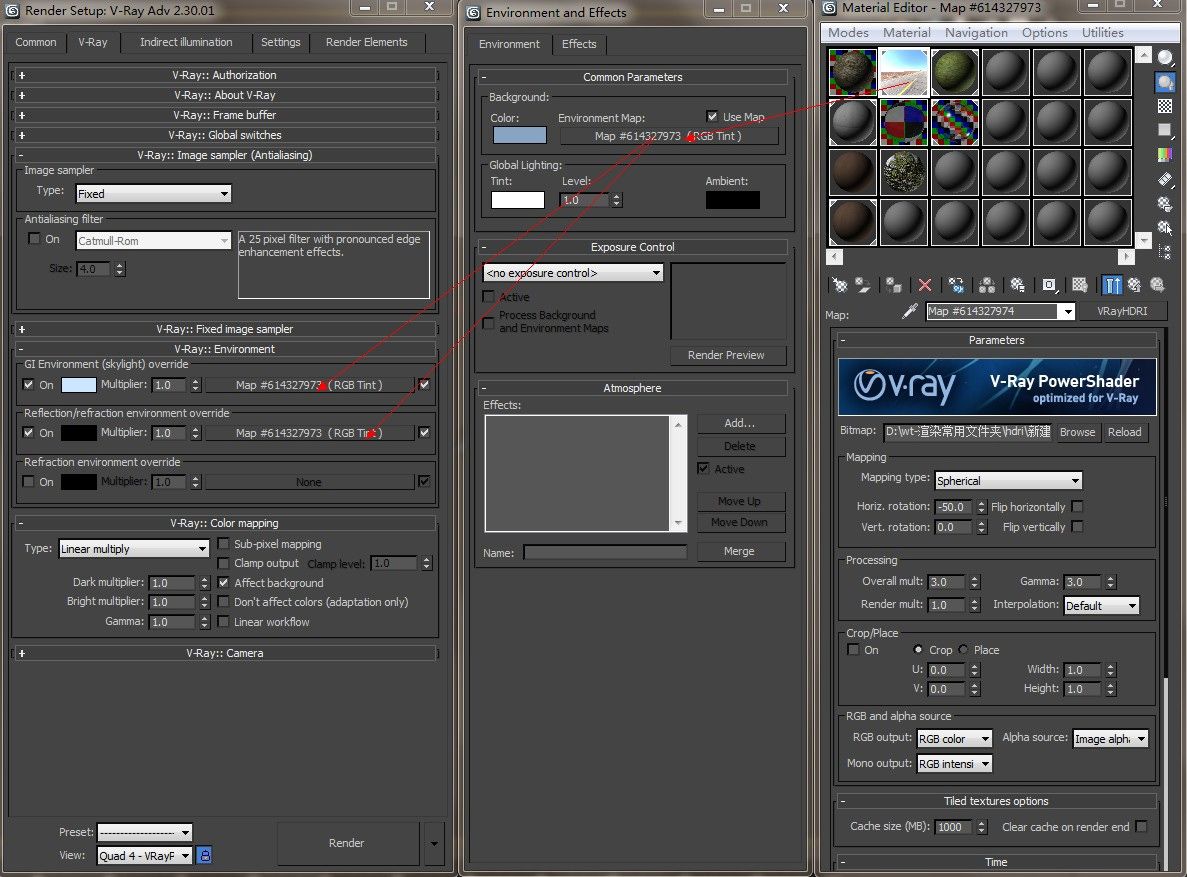
The lighting and environmental parameters are as follows:

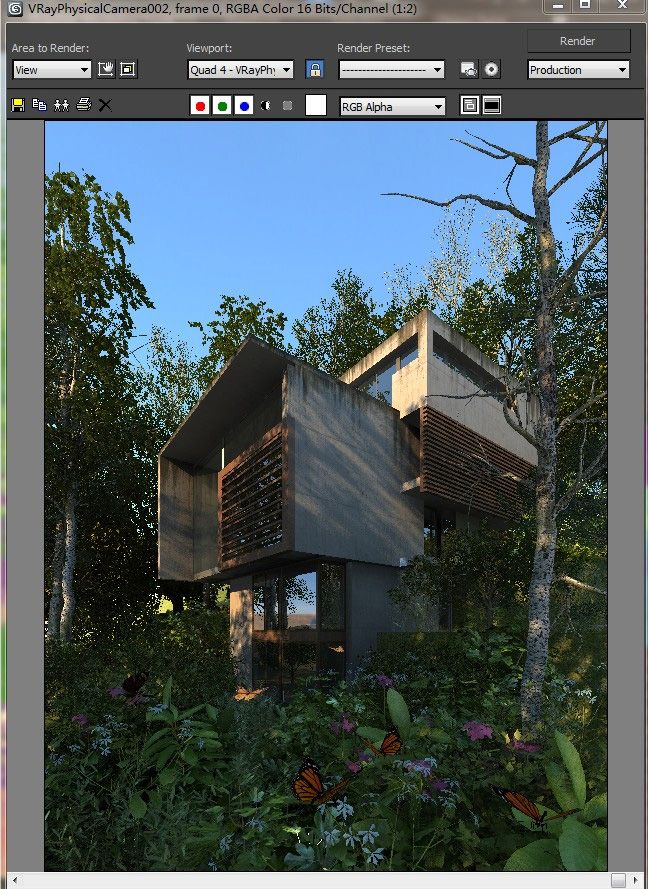
The next step is to add plants. This stage has a great influence on the whole work. Therefore, it takes a lot of time to arrange and combine, including the spatial relationship of the whole scene, the relationship between each plant and the shadow relationship. Tested, scrutinized. Get the following effects:
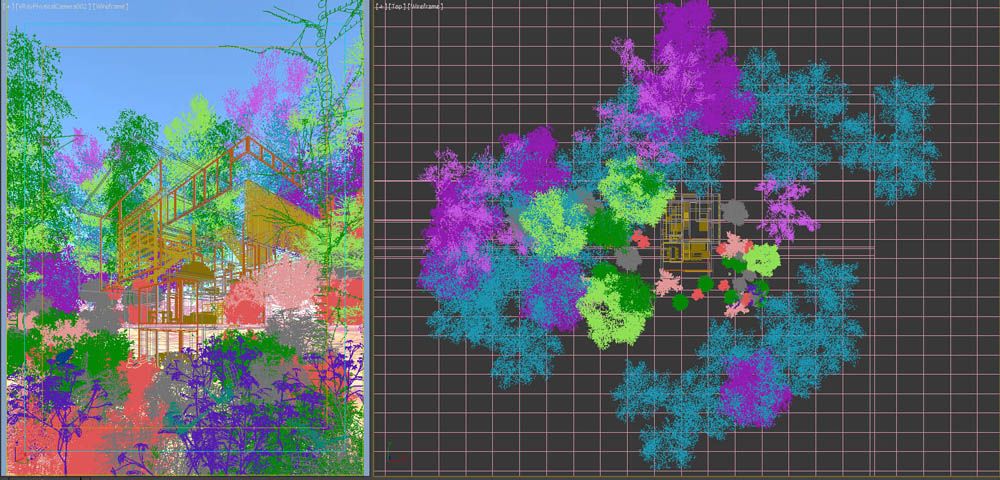
The adjusted plant plane distribution is as follows:
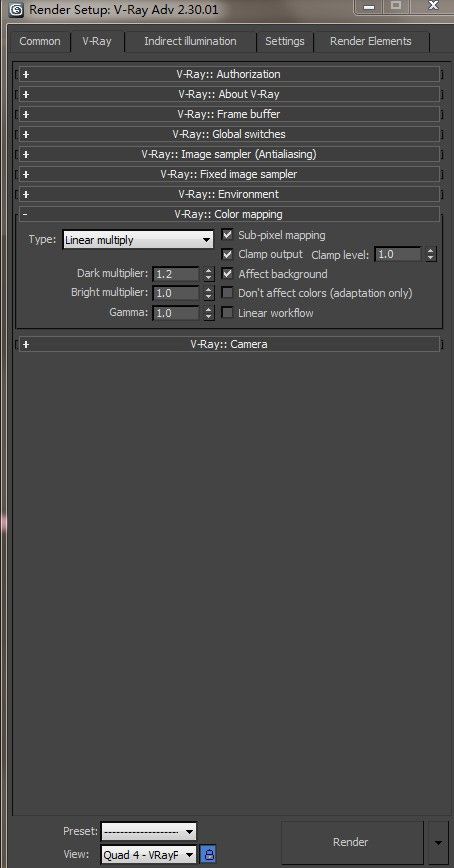
Now that the scene has been completed, the effect is not bad, but the dark part is not well lit and the color is too dark. Therefore, we added a parallel lamp to the scene to add light to the dark part. The room also added a face light to reflect the space, and increased the dark part multiplication in the exposure control. The parameters are as follows:


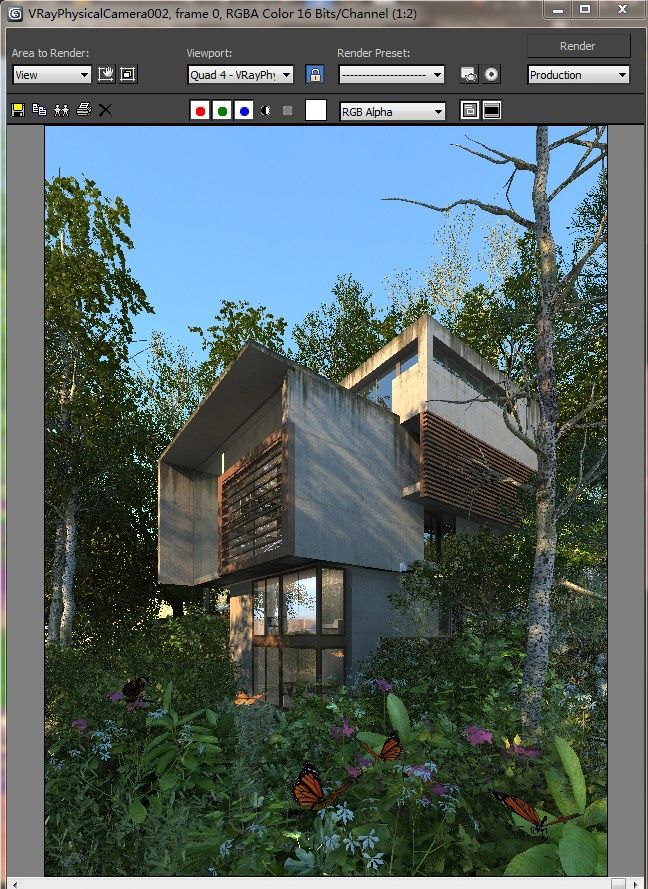
Finally, the following effects are obtained, and then the big picture can be rendered. Everyone has their own big picture parameters. I won't go into details here, and I will use it with ease.
Next, go to the post adjustment section, here is the original rendering:
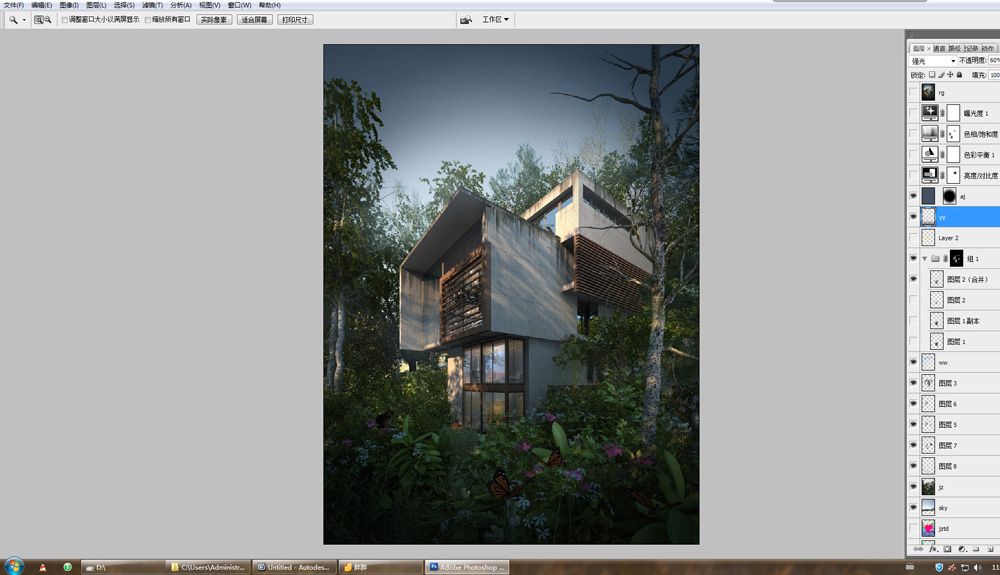
First make an overall adjustment to the rendered image, through soft light, color balance and other processing to get the following effects:
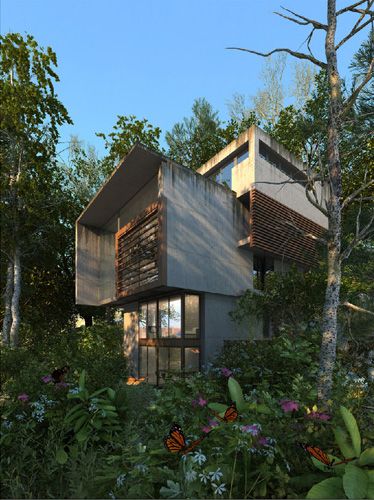
Then add a gray sky map to set a tone for the picture:
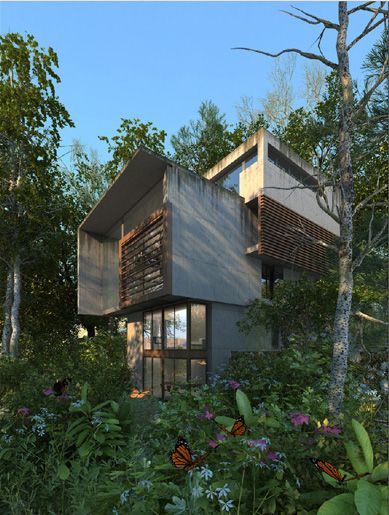
Then add a vignetting around, and spray some fog on the plants behind the building to increase the sense of space and emphasize the visual center of the picture:
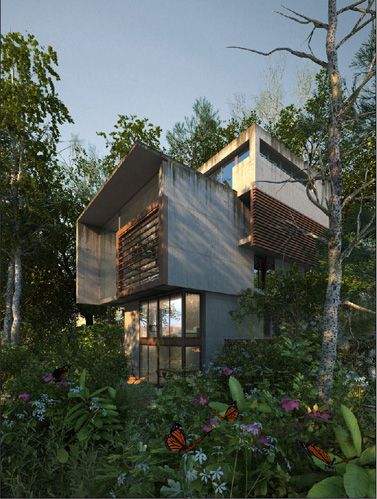
Continue to darken the foreground and adjust the materials in the scene to make the relationship more reasonable and better integrated into the whole tone.
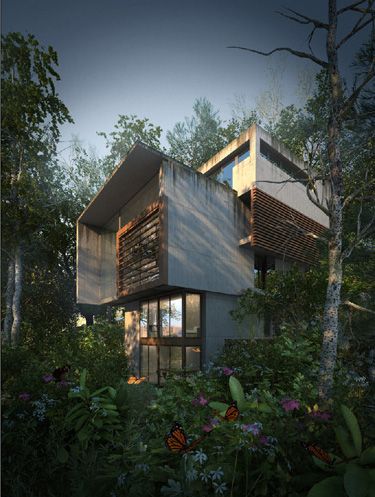
Next, spray warm light on the bright part to enhance the feeling of the sun.  Then create a brightness contrast adjustment layer, as follows:
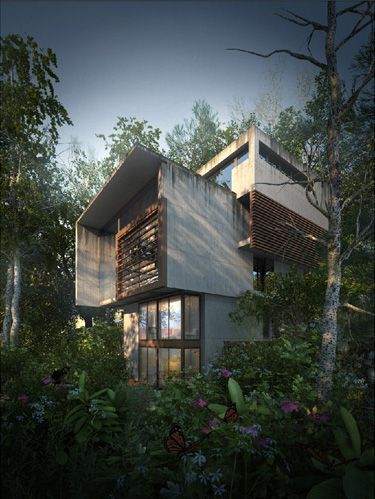
Create a color balance adjustment layer:
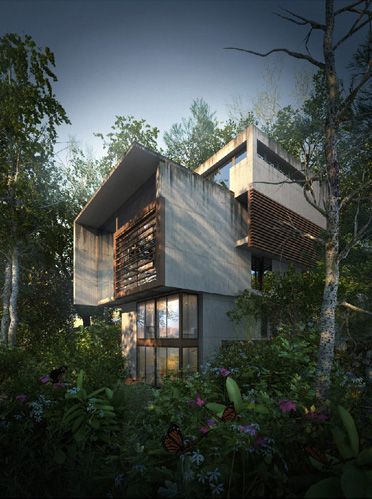
Reduce saturation:

Add a little more exposure:
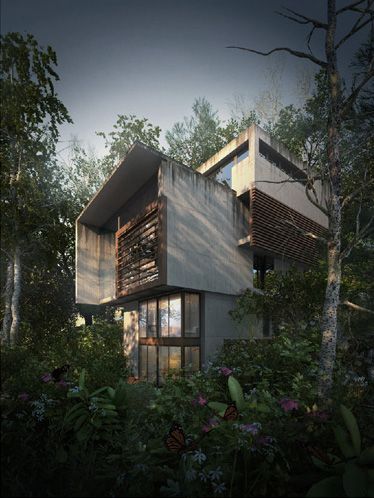
Then, copy one layer as a whole and the blend mode is soft light. 

Finally, if you want to make the work more realistic and the light more natural, it is best to use cloud rendering service, time saving. The tutorial is for reference only. Maybe you can change other methods based on the above, such as using cloud rendering, it may be made. For more different works, get a free $20 free trial of Fox Renderfarm.
Author: Green Bamboo Leaves
Recommended reading
Top 9 Best And Free Blender Render Farms of 2025
2024-12-30
Revealing the Techniques Behind the Production of Jibaro "Love, Death & Robots", Which Took Two Years to Draw the Storyboard
2025-02-10
Top 10 Free And Best Cloud Rendering Services in 2025
2025-03-03
Top 8 After Effects Render Farm Recommended of 2025
2025-02-10
Top 5 Best and Free 3d Rendering Software 2025
2025-02-10
Shocked! The Secret Behind Using 3D to Make 2D Animation was Revealed!
2025-02-10
How to Render High-quality Images in Blender
2024-12-04
Easy Cel Shading Tutorial for Cartoon in Blender Within 2 Minutes
2025-02-10
Partners
Previous: Aquaman, the Last Piece of 60 Billion Puzzle
Next: The VFX History And Future, Let’s Talk About The Invisible Effects In The Movie(2)
Interested
