How to Create Chinese Style Scenes in 3ds Max and ZBrush

In this article, your trusted CPU & GPU cloud rendering services provider and render farm, Fox Renderfarm will share with you a production process about how to create Chinese style scenes in 3ds Max and ZBrush from 3d artist ZX.
Introduction
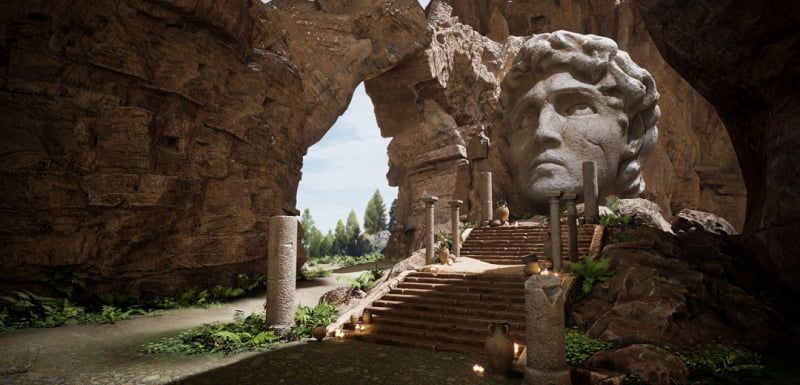
The project is created by a small team. It's also the first time they've done the scene independently. When they first saw the concept map, they thought it was beautiful and decided to make it a 3D version.
Next, we'll show you the whole process and explain in detail the problems encountered in the project and how to solve them.


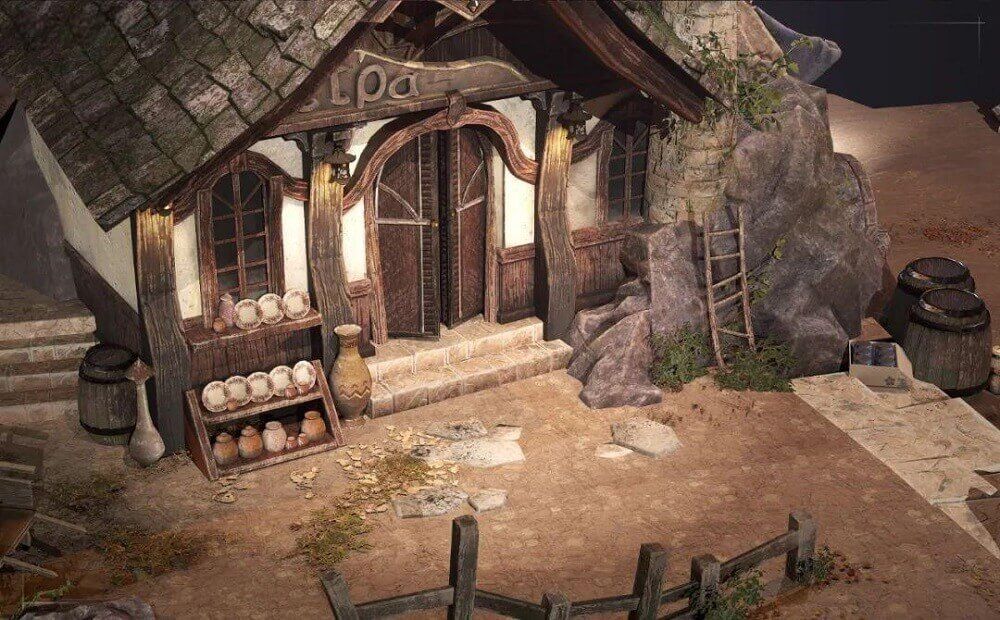
We wanted to save production time as much as possible, so before we did it, all of the team analyzed the concept map together, and we decided that the UVs for those things could be shared, and those materials could be made with duplicate maps. The parts of the model, those that only need to be made in one copy, can be reused. We've assigned everything by type and map.
And when making, we will give priority to the large model, from the whole to the part, the pre-production does not need to be too detailed, and finally is a number of various styles of small ornaments.
So we've made some basic shapes, and then we've used this basic shape to build a large scene.


Basic model
The low model is made to determine the scale of the entire model and facilitate later work. At first, I ignored the small props and started with the big buildings. After the whole Hall was built, I carefully checked all the structural parts and there was no problem. Otherwise, after half of the production, it will be troublesome to modify these structural things. So the hall scale structure must be confirmed before making details.

When the structure of the hall is finished, the number of faces of all models will not be too high, which will facilitate the subsequent engraving of the high model in ZBrush. I then divided all the models into several parts and distributed them to my team members for follow-up work. As long as everyone completes the work according to their assignment, it will save a lot of time when the later scene is assembled.
After we finish the scene, we refine it on the basis of the low model, so as to ensure that the model scale will not have problems in the later integration. It is important to note that all high models maintain size uniformity and that all engraving details are consistent.
Due to task assignments, it is necessary for someone to check everyone's progress to ensure that the project can be completed on time and that all models can achieve the same details.
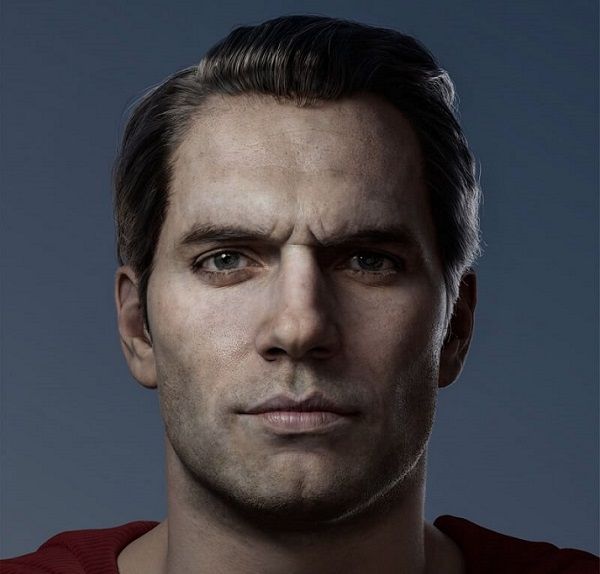
I sculpted two of these models as I made them, both starting with the basic ZSphere, and then converting them to polymesh3D. DynaMesh is used for carving, and the fewer faces the better in the early carving, and the better to adjust the shape.


All that's left is some tedious work that requires a lot of patience. I spent a lot of time in TopoGun to get the best models and details. Of course, in the project, there are also members who learn to make while learning and learn to use new tools to speed up the project process.
Texturing
As with the high model, all textures have to be consistent in color and texture, so some common base textures need to be made in advance. And, because it's a multi-person collaborative project, all progress sharing is important. So the production needs continuous communication, as far as possible to avoid repetitive work.


Rendering
First, it's an important step to integrate all the models into one scene. Especially for the large scene of multi-person cooperation, the name of the file made by each person must be good, and the shader in the file is named the same as the exported map folder, so as to facilitate the later search of textures and the replacement of maps.


Three common types of lights are used, the main light source that simulates sunlight, a supplementary spotlight and a point light source to make up for too dark places. We started with Marmoset Toolbag, but we weren't satisfied with the results. Then we added some extra effects to the scene, ambient atmosphere and so on, and finally, we got the most satisfying effect.


Recommended reading
Top 9 Best And Free Blender Render Farms of 2025
2024-12-30
Revealing the Techniques Behind the Production of Jibaro "Love, Death & Robots", Which Took Two Years to Draw the Storyboard
2025-02-10
Top 10 Free And Best Cloud Rendering Services in 2025
2025-03-03
Top 8 After Effects Render Farm Recommended of 2025
2025-02-10
How to Render High-quality Images in Blender
2024-12-04
Shocked! The Secret Behind Using 3D to Make 2D Animation was Revealed!
2025-02-10
Top 5 Best and Free 3d Rendering Software 2025
2025-02-10
Easy Cel Shading Tutorial for Cartoon in Blender Within 2 Minutes
2025-02-10
Partners
Previous: Covid-19 Ongoing Customer Care Program For India
Next: Animation "White Snake 2: The Tribulation of the Green Snake" Tops Chinese Box Office
Interested


