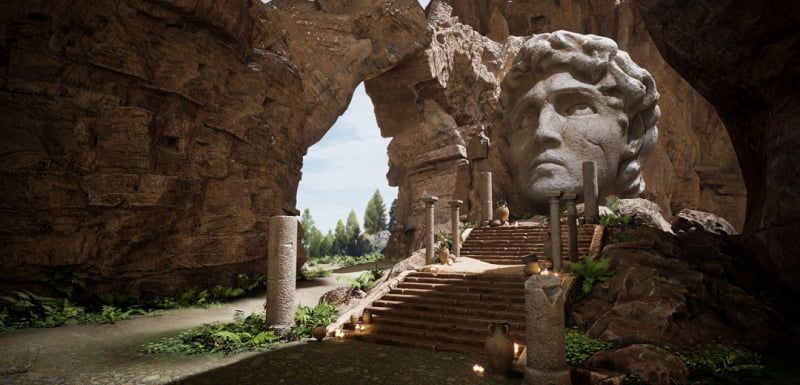
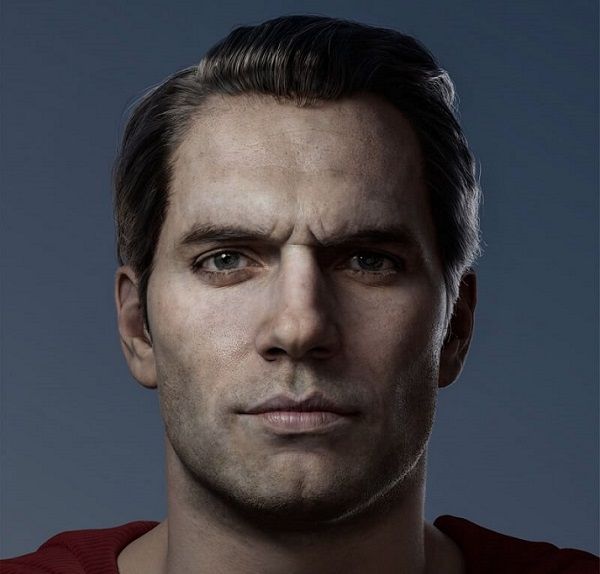
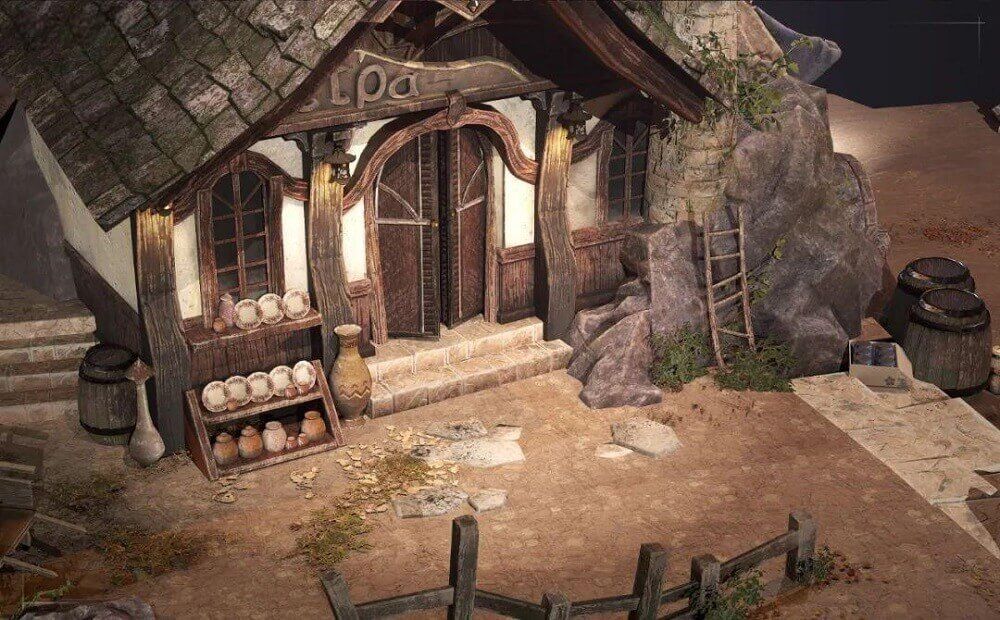
In this article, Fox Renderfarm, the industry's leading cloud rendering service provider and render farm, will bring you a tutorial on making a next-gen style scene shared by a 3D art and design student. This was his first time working with ZBrush and it took almost 4 weeks to complete it as he didn't have much experience. The original painting was from the internet and although the result is not very good in terms of completion and details, there is a lot to gain. Now, let's introduce the production process to you.Final results:Production Process1. Reference/Original PaintingI considered two aspects to select the reference, one is the richness of the object material, because I wanted to exercise my ability to use ZBrush software by making such common objects as rocks and boards; the second is whether there is enough time to finish. In order to make the result not too low completion, it is also very important to plan the time for your work. Finally, I chose this one.2. AnalysisIt is very important to analyze the original painting to improve the efficiency of the following work. By observing the original painting, we can determine the approximate proportions, the parts that are reused, the parts that need to be sculpted, and the materials used (tiles, stone walls, bricks, wood panels, etc.). Then I looked up other references and searched for available resources (material mapping, green transparent mapping, etc.). Split the original painting into sections of houses, props, and rocks and allocate the approximate time needed for each section to ensure completion within the deadline.3. Confirm Project RequirementsProduction specifications are very important, so we should clarify the naming format of the project, the size and number of mapping and other specifications before starting work, otherwise it will become very troublesome to redo it afterwards. Base on the specification to make a good decision on the file model naming, pixel density (1 cubic meter 512 * 512), etc., to complete the prep work.4. Mid-poly ModelingIn order to make the final result almost the same as the reference, the first step is to build the approximate shape. My approach is to roughly build a few boxes → set the camera position and focal length → continue to refine the position and scale of the middle model → finally use PureRef to adjust the transparency and size of the reference image and roughly compare it with my model, adjusting model according to the differences.The original painting I chose is not so complicated, and the objects are relatively neat, so there is no difficulty in making the rough model. The time was mainly spent on comparing the original painting with my model, and at this time, you can associate and copy out the models that are repeatedly used, so that it is convenient to modify them afterwards. For the rocks, which are seriously irregular, you only need to have a general shape, and then use ZBrush for sculpting and reducing the faces. Finally, you can sort out the parts that need to be sculpted first. The parts that need to be sculpted in the original painting are roof tiles, wooden boards, floor tiles, rocks, stakes, etc.In the process of making the mid-poly model, we need to pay attention to continuously refine the rough model while not destroying the big shape, and to add more details, trying to focus on the loop when wiring. Also, pay attention to the overall relationship, and constantly adjust and optimize.5. High-poly ModelingThere are a lot of things that need to be sculpted using ZBrush, and through self-learning, I have mastered some of the methods. My sculpting idea is to make chamfers and add some cracks and other details to give the object a sense of ageing while ensuring the hardness of structures.The process of carving the boards was relatively smooth, but it was more difficult to carve the rocks, which had to restore the shape of the original painting and also conform to the natural formation pattern of the rocks. After continuous modifications, the final result was not bad.6. UV Baking of Low-poly ModelFirst, in order to change the mid-poly model to low-poly model, you can delete useless lines, faces and points. For models that are sculptured excessively, you can use ZBrush to make adjustments. Then start to set the smooth group and split UV. Set smoothing group in the faces with too sharp angle, and the UV must be separated in the places where the smoothing groups are different, otherwise there may be black surface or bad effect when baking normal. There are many reasons for the error in the final result (smoothing group in wrong places, normal direction, high-poly and low-poly model matching, etc.), so we can only correct the errors one by one.7. Making of MaterialsBefore importing the model into Substance Painter, the preparation work must also be done. I had a large number of models, so in order to meet the pixel accuracy of 1 cubic meter/512*512, I divided the model into 12 parts and gave 12 material balls to each part, so that I could operate in 12 layers after importing the models into Substance Painter.My process of making mapping is customarily divided into these steps: create a folder → add a mask for selection → add a fill layer to fill the basic inherent color → add smart materials / mapping resources for fine-tuning changes → add dirty stains (dirty stain generator) → add object relationships (AO generator) → add the upper white and lower black visual effects of the overall object (location generator) → edge wear (metal edge generator) → add details such as dirt. If there are unnatural places, you can add the painting layer to modify.8. RenderingThe last thing is to organize the files and rendering. The texture files exported from Substance Painter must be named well and organized in a uniform way, otherwise it is a waste of time to modify the names and paths again.After organizing all the files into a new model folder, I put the model into the Marmoset Toolbag for the final rendering. Through the study of fog effects and lighting, I put warm light in the scene according to the reference, and cold light behind it for contrast between warm and cold, but I also made the stone look too bright, which was modified and improved after the teacher reminded me. Although the final result was not particularly impressive, I finished the project in a moderate way, and it was still very fulfilling to see the final result.Finally, I am very grateful to my teacher and classmates for their help to complete such a scene. The above is the experience sharing of my whole production process. Although I encountered some difficulties during the process, I finally solved them successfully after hard work. I also hope that I can correct mistakes and make progress in the future based on my previous experience.Sourec: Thepoly


