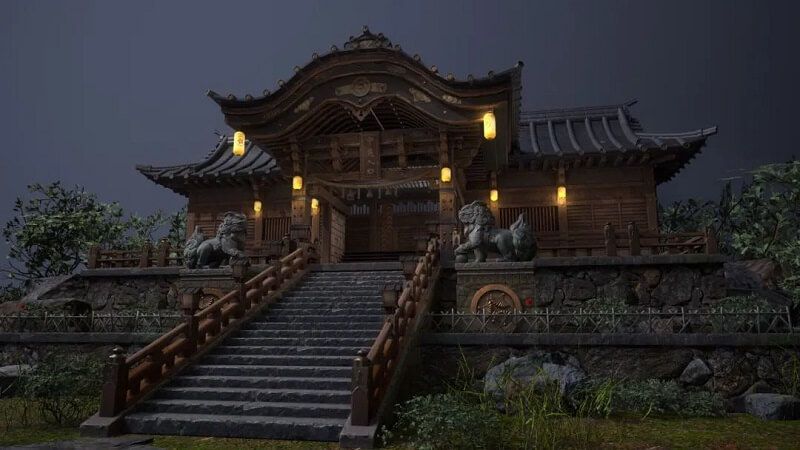
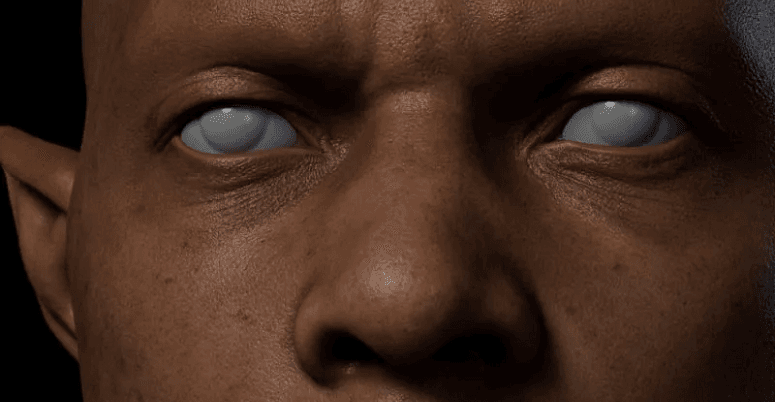
"Doom: Gore's Podium" Scene Production Process Sharing

In this article, Fox Renderfarm, a renowned render farm service, and cloud rendering provider in the computer graphics business, will present a sharing process for the "Doom: Gore’s Podium" scene production.
Next, I will share my production process and some insights along the way.
Final Render Result:

This is a PBR case study. The specific software used includes modeling in 3ds Max, high-poly sculpting in ZBrush, low-poly retopology in TopoGun, normal map baking in Toolbag 4, texturing in Substance Painter and Photoshop, and finally, lighting rendering in Toolbag 4.
Analyzing the Original Artwork and Setting up the Mid-poly Model
Upon further research, it was found that this original artwork is from "Doom Eternal." Unlike the wooden mountains and rocks, it is composed of a hard surface and half-mutated tissue. The mutated tissue wraps around the podium, creating a complex and intricate structure. However, it is not without flaws!

On the first night at 10:00, I referenced the original artwork and completed the mid-poly modeling of the hard surface part. Two days later, I had also mostly determined the positions of all the mutated tissues, dividing them into two layers: the visible first layer and the obscured second layer. The first layer was segmented into different-sized components based on color blocks, while the second layer was represented by spherical shapes forming a unified whole. As for the structure of the hard surface part of the podium, it was relatively simple and could be completed beforehand.

(Creation of mid-poly model)
Afterward, it was time to import the models into ZBrush.
Creation of High-poly Model
In ZBrush, I encountered several challenges. Firstly, it was the brush strokes; it was a matter of practicing basic skills to improve. Then, it was the brushes themselves. After some experimentation, I found that the clay brush was the most suitable for handling soft objects. Lastly, there was the issue of part positioning. Initially, importing each part individually into ZBrush often made it difficult for me to locate their specific positions within the model. In the end, I imported all the parts at once, which helped me clarify the areas that needed sculpting.

(The process of shaping with the clay brush)
Modifying the High-poly Model
To enrich the appearance of the extended parts, I gathered numerous references. Eventually, I settled on designing a small octagonal room, with the podium standing in the center on a platform shaped like an octagon. I aimed for symmetry and repeatability throughout the design.

(The abandoned tunnel scheme draft had a major issue concerning how to handle its end)

(The finalized platform scheme draft)

(Attempts to integrate the main podium with the extended sections)
The undecided details inside the room were enveloped by mutated tissues to conceal the hard surface intricacies. The design of the mutated tissues was inspired by parasites and Lovecraftian creatures.
All of a sudden, I remembered the V-Ray plugin that comes with 3ds Max. It offers convenient features, allowing for easy rendering by simply adding lights and cameras to the scene. Seizing the opportunity with only one hour left before the OM system shutdown, I successfully rendered a slightly different high-poly model as planned.

(The high-poly model rendered using V-Ray)
Creation of Low-poly Model
Excluding the hard surface parts, there are 74 components of the mutated tissues in the main podium section and an additional 24 components in the extended part, totaling 98 components that need re-topologizing. Then, I remembered the automatic retopology function in ZBrush. However, it tends to create a spiral-like topology, which is not conducive to creating animation effects in the model later on. Considering this issue, I decided to import all components into TopoGun after automatic retopology in ZBrush to adjust the topology, aiming to avoid spiral-like topology as much as possible.

(The process of re-topologizing the low-poly model)
I used a scale of 1m²/256 pixels to create the textures and utilized Rizom UV for UV unwrapping. Based on this scale, I planned out 5 textures sized at 4096 each. The high and low poly models aligned perfectly within TopoGun, and the baking process in Toolbag 4 went smoothly without any issues.
Creating Textures
Fortunately, there weren't major issues with the baked normals, allowing me to quickly adjust them in Photoshop and smoothly import them into Substance Painter for texture creation. The approach to texture creation mainly involved laying down the foundation for volume and light/darkness in three layers, determining texture details, and expressing color variations between objects. Given that my mutated tissues have a smooth texture, all light and dark areas needed to be painted with masks to achieve the desired effect.

(The process of painting masks for coloring)
Render
I renamed the material textures for easy import into Toolbag 4 for rendering. Before importing, I conducted a simple color analysis of all the materials in the scene and planned the positions and colors of the lights to further enhance the atmosphere. Although the color contrast was somewhat high, ray tracing could help soften the light colors appropriately. As for the camera, to highlight the main subject in the center, I zoomed in and discarded some irrelevant content.

(The process of setting up lighting)
Finally, rendering the image.

(Final render product)
Conclusion
Above is the sharing process of the “Doom: Gore’s Podium”. If you want to speed up rendering, why not use Fox Renderfarm's cloud rendering service for acceleration? Currently, Fox Renderfarm also offers a $25 free trial coupon.
Source: Thepoly
Recommended reading
Top 9 Best And Free Blender Render Farms of 2025
2024-12-30
Revealing the Techniques Behind the Production of Jibaro "Love, Death & Robots", Which Took Two Years to Draw the Storyboard
2025-02-10
Top 10 Free And Best Cloud Rendering Services in 2025
2024-12-26
Top 8 After Effects Render Farm Recommended of 2025
2025-02-10
How to Render High-quality Images in Blender
2024-12-04
Shocked! The Secret Behind Using 3D to Make 2D Animation was Revealed!
2025-02-10
Top 5 Best and Free 3d Rendering Software 2025
2025-02-10
Easy Cel Shading Tutorial for Cartoon in Blender Within 2 Minutes
2025-02-10
Partners
Previous: How to Speed Up Cinema 4D Rendering?
Next: 3Dレンダリングを高速化する方法
Interested


